How to put up a curtain pole
Our advice for safe and simple fitting. Use this as a guide - your pole or track should come with its own instructions.
Tools for the job
Safety first
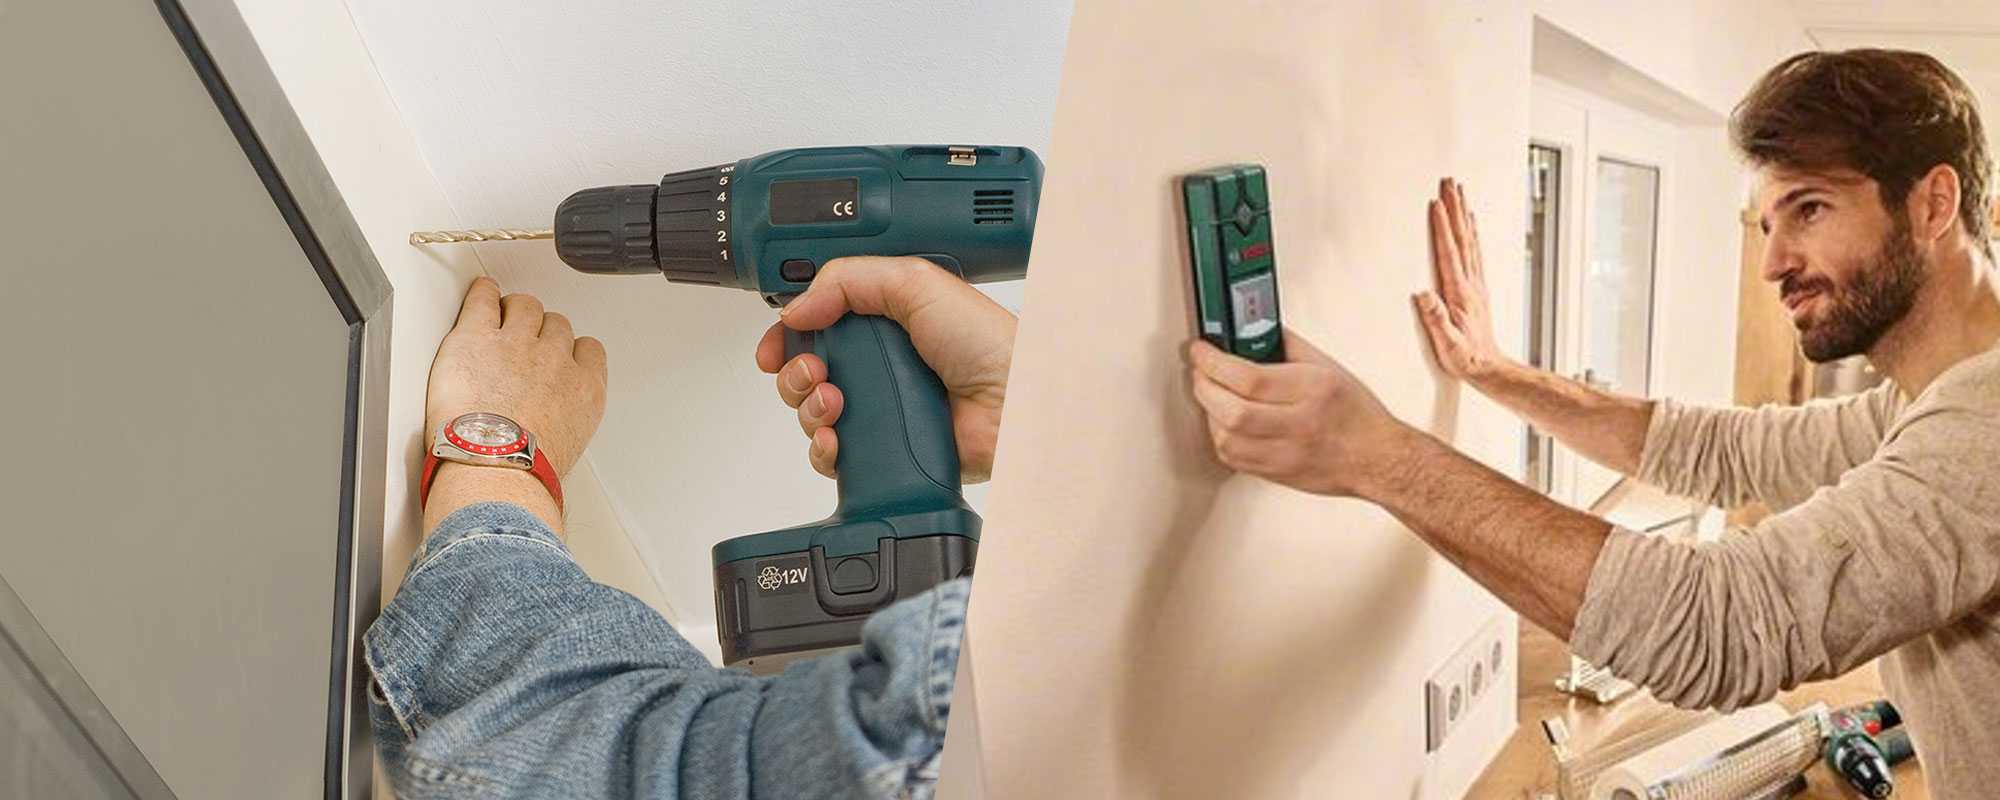
To fit your pole or track you will need to drill into a wall, so it's best to check before you start that there are no pipes or cables nearby. If you're not sure where the pipes or cables lie, use a cable detector to check the area first.
Choosing a curtain pole or track
Curtain track
If you don't want to see any fixtures and fitting above the curtain, choose a curtain track.
They come in lengths of up to 450cm, and are easy to cut to size.
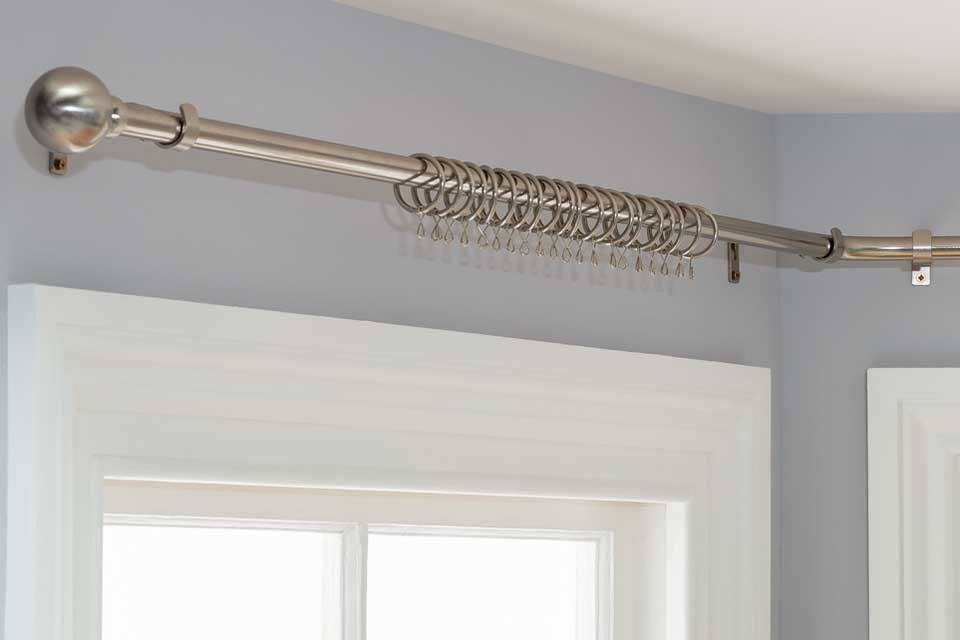
Tracks work well for bay windows as they can curve around the alcove.
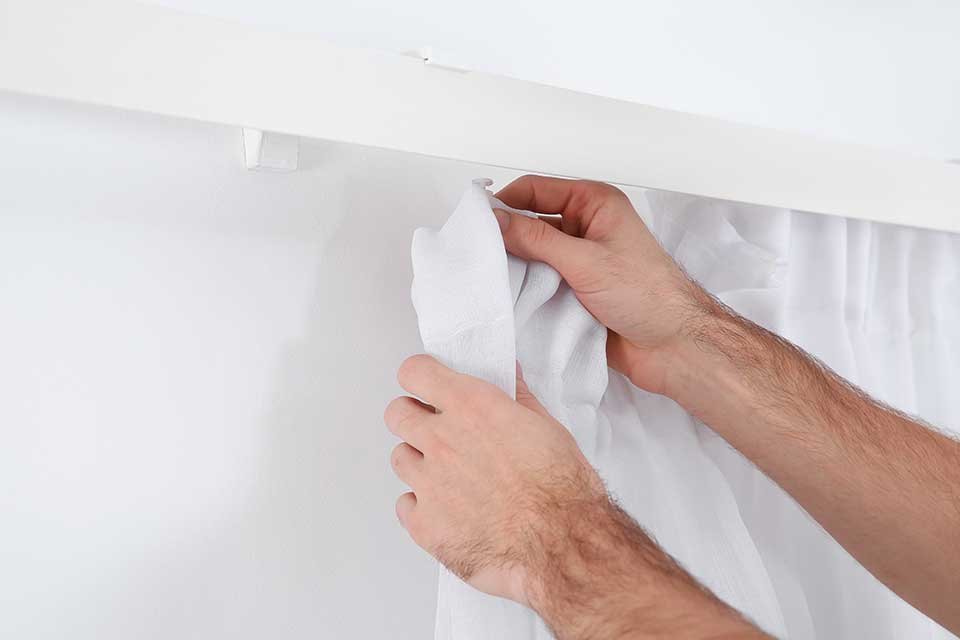
You'll need to fit curtains that have a heading tape (look for pencil pleat headers) which attach to the rail with curtain hooks.
Curtain pole
If you want to see the curtain pole above the top of the curtains choose a curtain pole.
They come in lengths between 100cm - 400cm, with extendable poles the easiest to lengthen and shorten.
There are many styles and finishes available to coordinate with your decor, featuring decorative finals at either end.
You can hang eyelet, tab top or pencil pleat curtains from a curtain pole.
Shop curtain poles by material
Step 1: Measure for your curtain pole or track
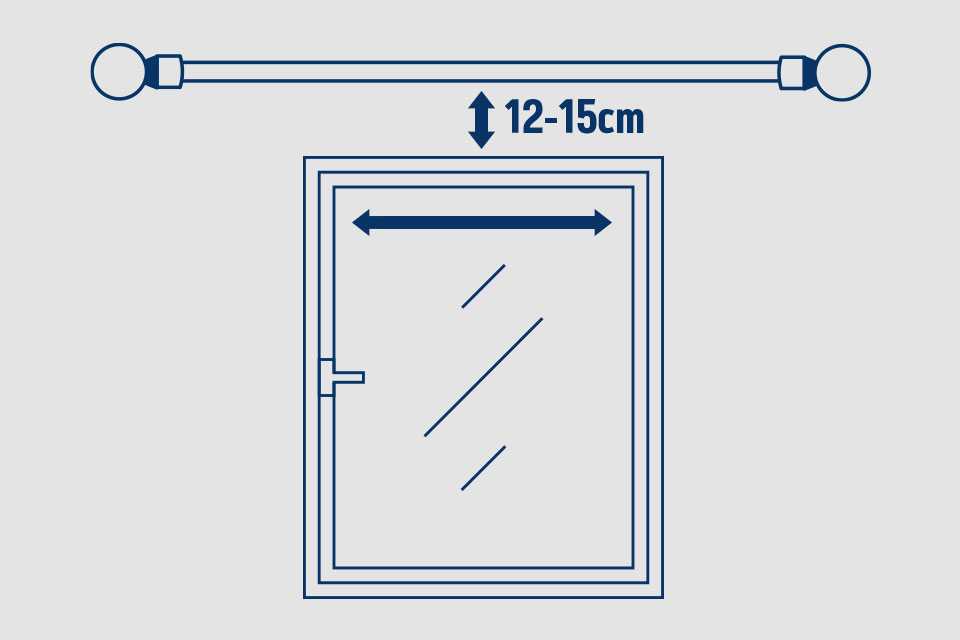
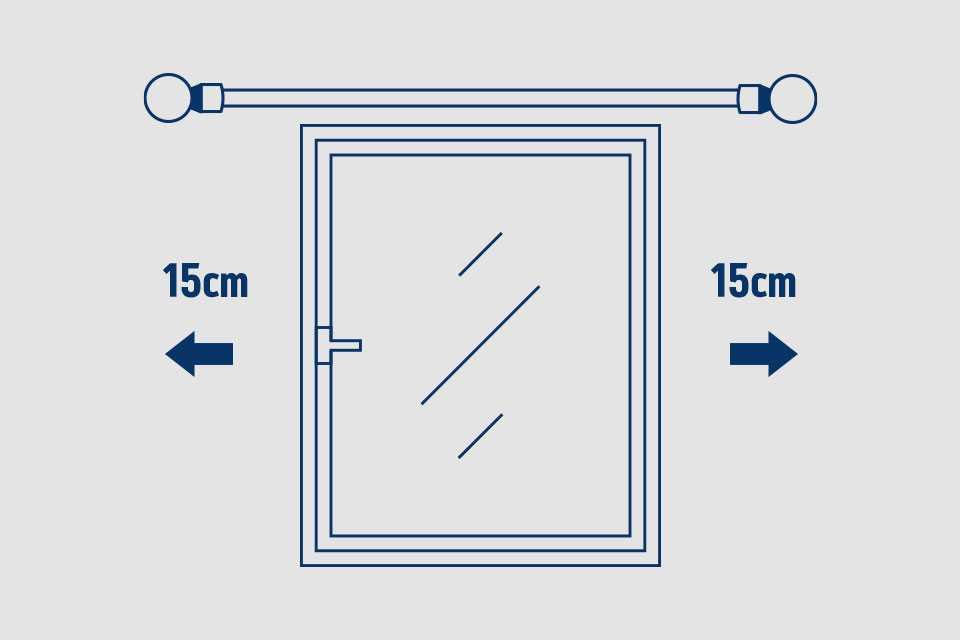
To measure for a pole or track fitting, first measure the width of the window recess. Your fitting should extend about 15cm each side to allow your curtains to fully block any light, so add a total of 30cm to your recess measurement. This is the width your pole should be.
Step 2: Measure for the centre point of your pole/track
To get a centred pole or track, or to measure for the centre bracket if your curtain pole requires it, you need to find the middle of your window. The easiest way to measure for this is to take your window width measurement and divide it by two.
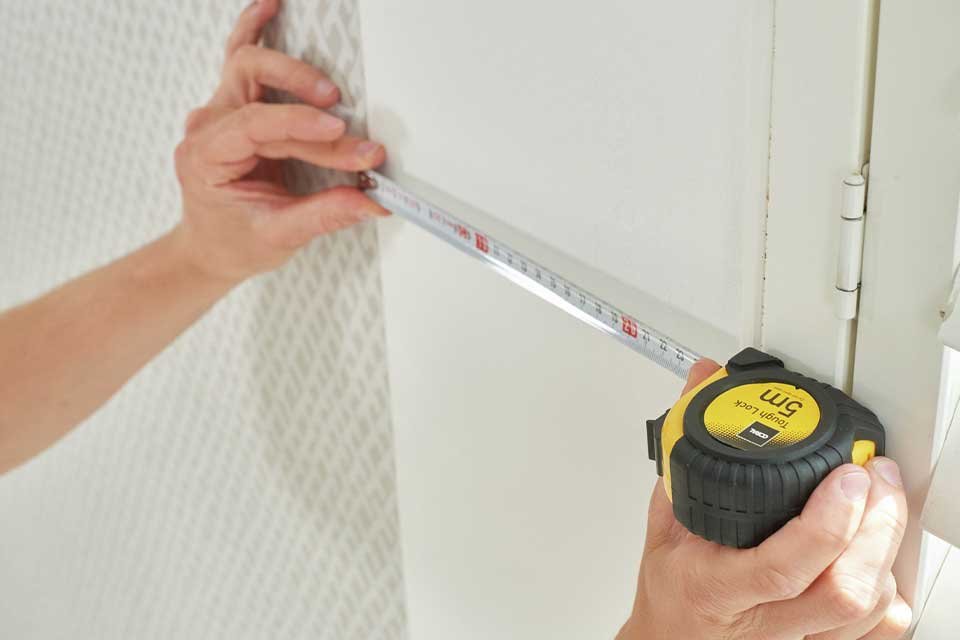
Use a measuring tape to mark this centre point on the wall with a pencil.
Most poles or tracks are positioned 12-15cm up from the top of the window, so now mark this distance from the centre point.
Step 3: Measure for the end brackets
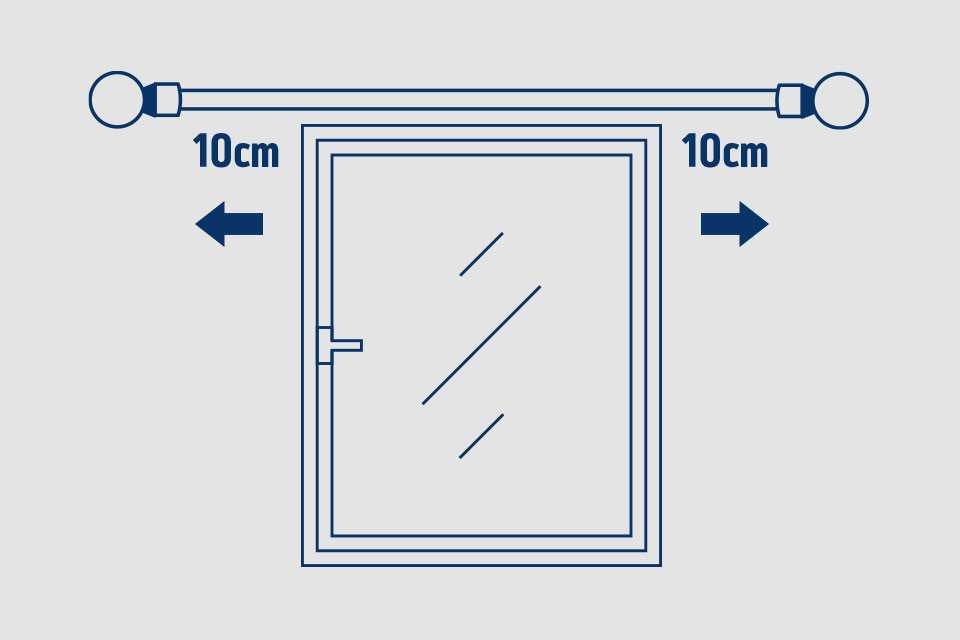
Curtain poles usually require two brackets towards either end of the pole, positioned 10cm in from the end.
To position these, take your total width measurement from Step 1, and use your tape measure to mark the end points on the wall. Then mark 10cm in from each end point.
Curtain tracks usually require more brackets which should be evenly spaced. Your instructions will detail what the distance between these points should be.
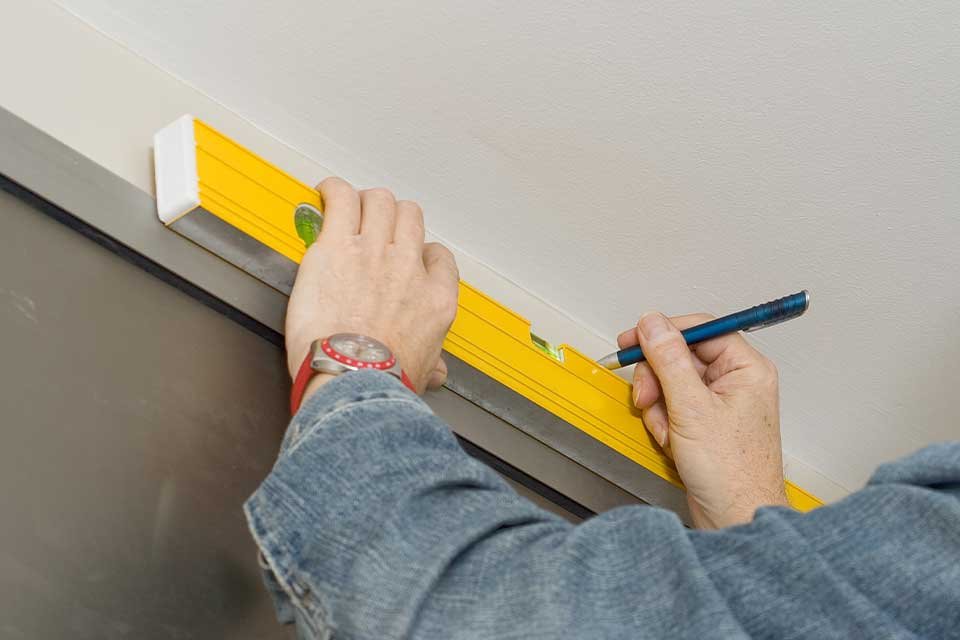
To make sure your pole or track is straight, ensure your markings are level and parallel to your ceiling using a spirit or laser level.
Step 4: Fix your brackets and add the pole/track
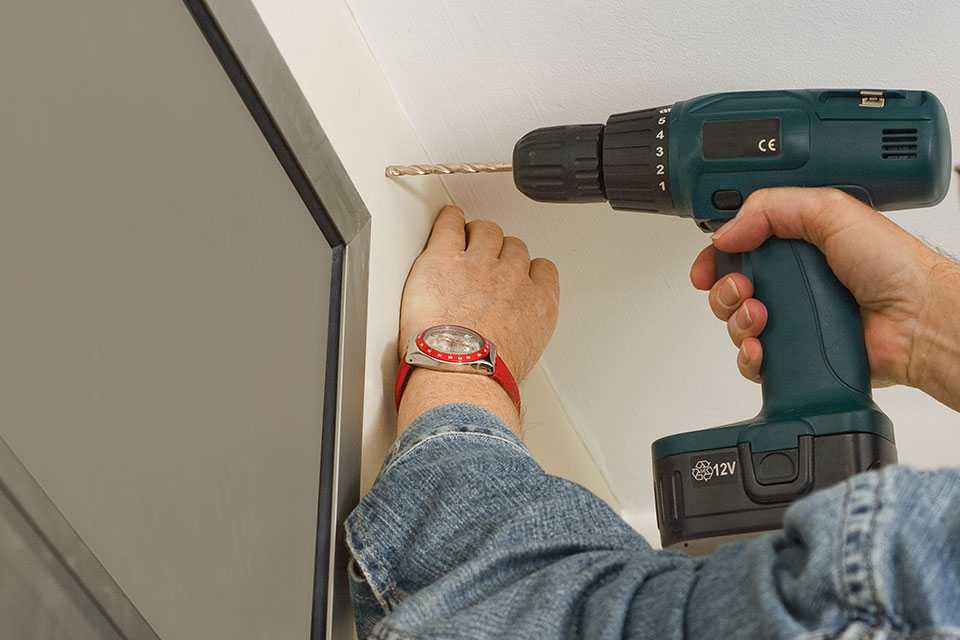
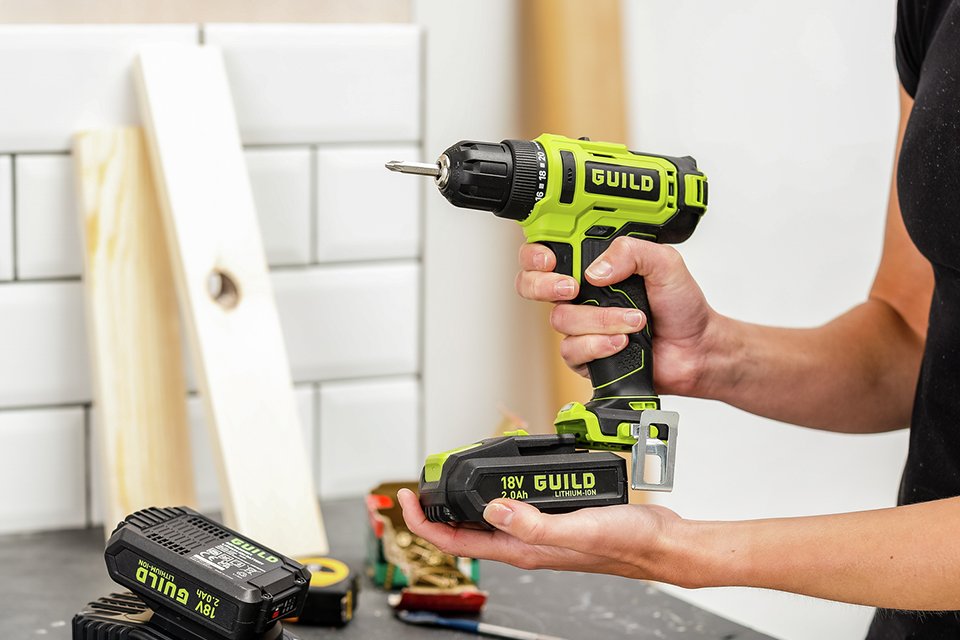
Drill holes for your brackets at each marked point - your instructions will tell you the drill bit width required. Make sure you use the appropriate bit for the type of material you are drilling into.
Add the wall plugs, supplied with most curtain pole/track kits (just check again they are the correct type for the material you are drilling into), and affix your brackets using a screwdriver.
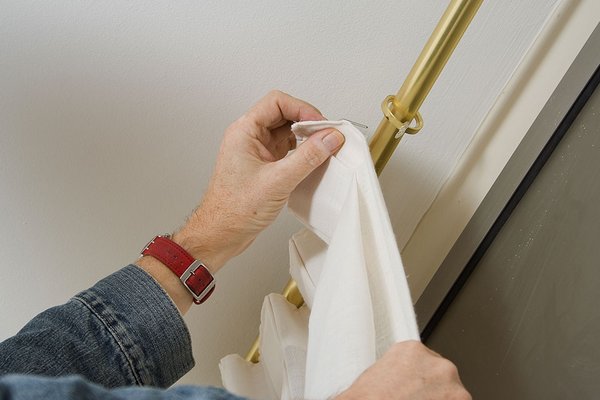
You can now position your pole or track to the brackets and follow the instructions to secure in place (you may need a screwdriver for this).

&poi={$this.metadata.pointOfInterest.x},{$this.metadata.pointOfInterest.y},{$this.metadata.pointOfInterest.w},{$this.metadata.pointOfInterest.h}&scaleFit={($this.metadata.pointOfInterest.x>0)?$sfpoi:$sfcenter}&sm=aspect&aspect=3:2&sfcenter=center&sfpoi=poi&qlt=50&fmt=auto&noiser=0&fmt.jpeg.interlaced=true&fmt.jp2.qlt=40&)
?$sfpoi:$sfcenter}&sm=aspect&aspect=2:1&sfcenter=center&sfpoi=poi&qlt=50&fmt=auto&noiser=0&fmt.jpeg.interlaced=true&fmt.jp2.qlt=40&w=600&)
?$sfpoi:$sfcenter}&sm=aspect&aspect=2:1&sfcenter=center&sfpoi=poi&qlt=50&fmt=auto&noiser=0&fmt.jpeg.interlaced=true&fmt.jp2.qlt=40&w=600&)
?$sfpoi:$sfcenter}&sm=aspect&aspect=2:1&sfcenter=center&sfpoi=poi&qlt=50&fmt=auto&noiser=0&fmt.jpeg.interlaced=true&fmt.jp2.qlt=40&w=600&)
?$sfpoi:$sfcenter}&sm=aspect&aspect=2:1&sfcenter=center&sfpoi=poi&qlt=50&fmt=auto&noiser=0&fmt.jpeg.interlaced=true&fmt.jp2.qlt=40&w=600&)
?$sfpoi:$sfcenter}&sm=aspect&aspect=2:1&sfcenter=center&sfpoi=poi&qlt=50&fmt=auto&noiser=0&fmt.jpeg.interlaced=true&fmt.jp2.qlt=40&w=600&)
?$sfpoi:$sfcenter}&sm=aspect&aspect=2:1&sfcenter=center&sfpoi=poi&qlt=50&fmt=auto&noiser=0&fmt.jpeg.interlaced=true&fmt.jp2.qlt=40&w=600&)
?$sfpoi:$sfcenter}&sm=aspect&aspect=2:1&sfcenter=center&sfpoi=poi&qlt=50&fmt=auto&noiser=0&fmt.jpeg.interlaced=true&fmt.jp2.qlt=40&w=600&)
?$sfpoi:$sfcenter}&sm=aspect&aspect=2:1&sfcenter=center&sfpoi=poi&qlt=50&fmt=auto&noiser=0&fmt.jpeg.interlaced=true&fmt.jp2.qlt=40&w=600&)


?$sfpoi:$sfcenter}&sm=aspect&aspect=2:1&sfcenter=center&sfpoi=poi&qlt=50&fmt=auto&noiser=0&fmt.jpeg.interlaced=true&fmt.jp2.qlt=40&w=600&)
?$sfpoi:$sfcenter}&sm=aspect&aspect=2:1&sfcenter=center&sfpoi=poi&qlt=50&fmt=auto&noiser=0&fmt.jpeg.interlaced=true&fmt.jp2.qlt=40&w=600&)
?$sfpoi:$sfcenter}&sm=aspect&aspect=2:1&sfcenter=center&sfpoi=poi&qlt=50&fmt=auto&noiser=0&fmt.jpeg.interlaced=true&fmt.jp2.qlt=40&w=600&)
?$sfpoi:$sfcenter}&sm=aspect&aspect=2:1&sfcenter=center&sfpoi=poi&qlt=50&fmt=auto&noiser=0&fmt.jpeg.interlaced=true&fmt.jp2.qlt=40&w=600&)
?$sfpoi:$sfcenter}&sm=aspect&aspect=2:1&sfcenter=center&sfpoi=poi&qlt=50&fmt=auto&noiser=0&fmt.jpeg.interlaced=true&fmt.jp2.qlt=40&w=600&)
?$sfpoi:$sfcenter}&sm=aspect&aspect=2:1&sfcenter=center&sfpoi=poi&qlt=50&fmt=auto&noiser=0&fmt.jpeg.interlaced=true&fmt.jp2.qlt=40&w=600&)